Instructor's Guide
Leverage DaDesktop Virtual Desktops to Simplify Course Delivery
DaDesktop Virtual Desktops make it easy to deliver online courses from anywhere in Germany.
Please be aware: DaDesktop (DD) now supports one or more trainers per course.
Each trainer receives their own login to DaDesktop and can fully control the ‘Trainer Desktop’ just like their own machine.
The concept is that both trainers participate in the audio conference, taking turns as needed, while each can seize control of the Trainer Desktop whenever necessary. This proves particularly valuable for extended courses, or sessions that benefit from having two field experts engaging directly with participants.
Before you create a new course
- Trainers should reach out to the course organizer with the details below:
- Course information (title, schedule, and participant count)
- Physical location of trainers and delegates (to recommend the optimal datacentre)
- Email address(es) of the trainer(s)
- Suggested Browsers for Training
- Chrome
- Firefox
- Microsoft Edge
- Network Requirements
- All DaDesktop users need a reliable internet connection
- Using public Wi-Fi, such as in a coffee shop, is not advisable—it tends to be unstable
- As a reminder before you begin: DaDesktop is a web-based training platform
- Your internet speed should exceed: 10 Mbps download & 1 Mbps upload
-
A dual-screen setup and webcam are recommended if possible
Step 1: Setting Up Your Course
- Course coordinators assist in setting up the course
- Add the trainer(s) by sending them the registration invitation link
- The trainer will receive an email containing course details and a login link
- Trainers log in using their accounts via https://dd4t.dadesktop.com
- Then, issue course invitations to participants (the pink link)
-
Important: Even if multiple trainers co-teach, only one trainer machine is ever in use
Step 2: Prepare Your DaDesktop within the Course
- Click "Create from OS template" to start the Fresh Start desktop. The Fresh Start machine is where you, as the trainer, develop all course content. Once ready, you clone it to your Trainer Desktop and to each Participant desktop. If you already have a standalone machine containing your course setup, use the dropdown and select that Standalone instead.
- Pick the OS template, choose the nearest datacentre, and configure it for your training needs. Then click 'Create Desktop'.
- Connect to the desktop and set up your course inside the DaDesktop VM
- Should your course need multiple machines, install Virt Manager (the preferred choice on Linux) or VirtualBox inside DaDesktop. This allows you to run several desktops simultaneously within DaDesktop. The entire set of machines will be cloned to every participant and your Trainer machine.
- If you plan to use Windows 10 Pro, we suggest converting documents to PDF, as DaDesktop does not include MS Office.
- Download and prepare everything just like you would on your own computer.
-
Always use the automatically assigned DHCP IP addresses for Fresh-Start machines. DO NOT assign static IP addresses, nor change MAC addresses or DNS settings on FreshStart machines—doing so will lead to issues when cloning to Course Desktop VMs. Also, avoid renaming the computer, as that can cause problems within DaDesktop.
If you need assistance with any of these steps, reach out to Tech Support.
Step 3: Clone the Desktop for All Participants
- Once you have finished preparing the “Fresh Start desktop,” exit and stop the desktop.
- In the Trainer section, click “Create from Fresh Start desktop” to generate a clone that mirrors your Fresh Start machine.
- If delegates are located in different regions, use the dropdown next to “Create from Fresh-Start Trainer desktop” to clone into their region.
-
The dropdown also offers other options, such as Clone from Standalone and Create from OS Template.
Final Step: Enter the Training Room
- Both trainers and participants click “Training Room” to join the session together.
- Upon entering the Training Room, the system automatically clones the FreshStart desktop to every participant.
- Within the Training Room, audio and video recordings can be captured automatically.
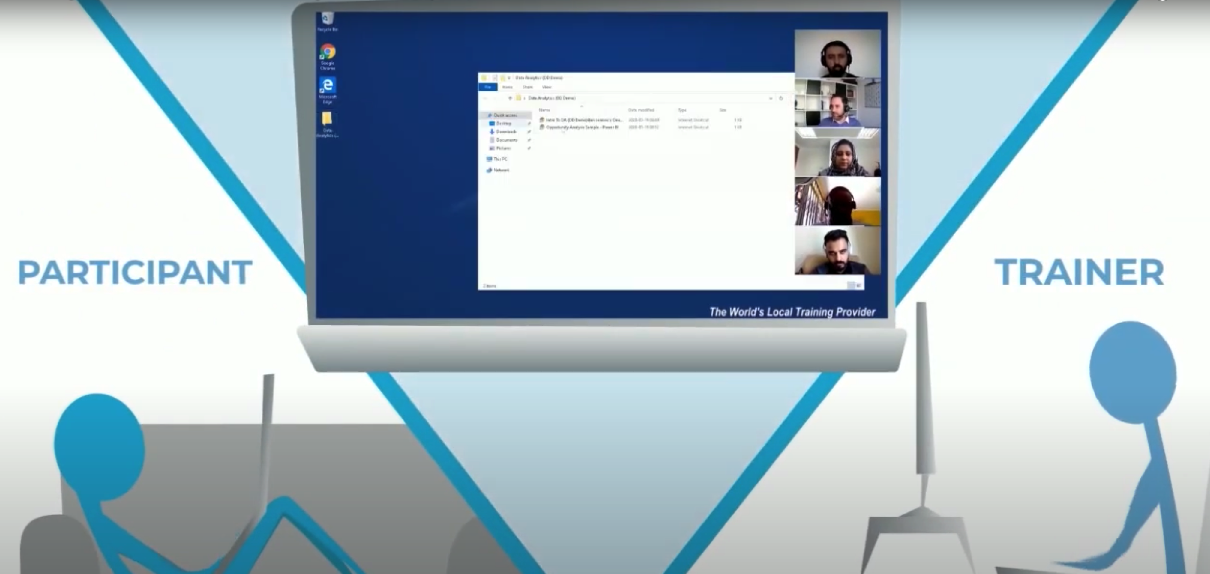
- Each delegate sees two desktops—their own and the Trainer’s—so screen sharing is unnecessary.
- Inside the Training Room, the trainer can view all participant machines alongside their own, and can take control of any individual machine to offer direct assistance. Participants see only their own desktop and the Trainer’s Desktop.