Recording Management (Beta)
You can now manage the recordings and videos on your course page from the Recordings tab. While this feature is still in Beta, it already lets you create Modules, edit and trim videos, and more.
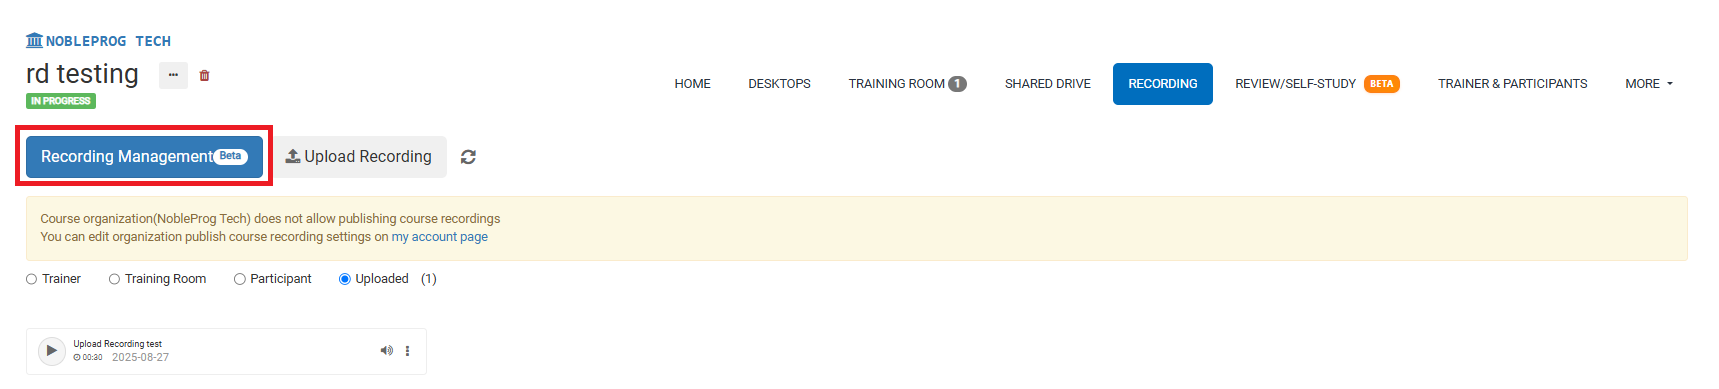
Recording Management Button
Inside the Recordings tab, you'll find a prominent blue button labeled "Recording Management" on the left. As you record throughout the course, your recordings will gather on this page, labeled as Trainer, Training Room, or Participant.
If you've definitely created recordings but they haven't appeared yet, click the refresh button next to the "Recording Management" button.
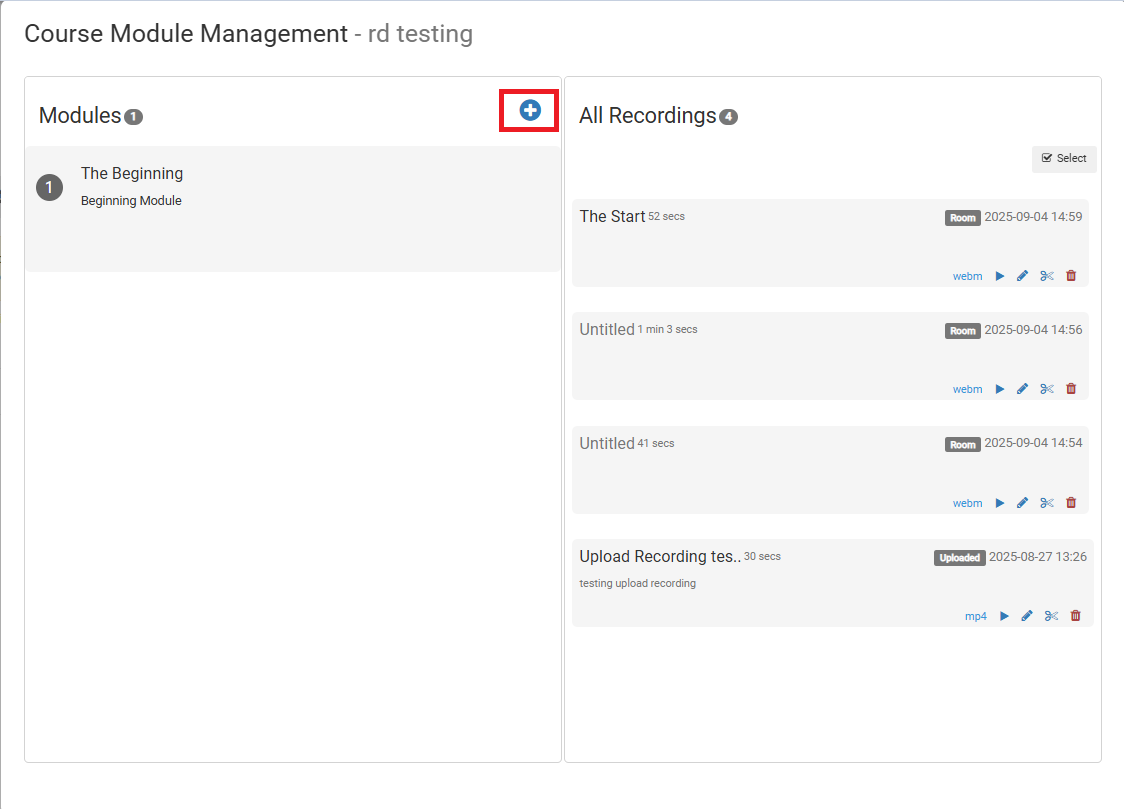
Clicking this button opens a new popup screen.
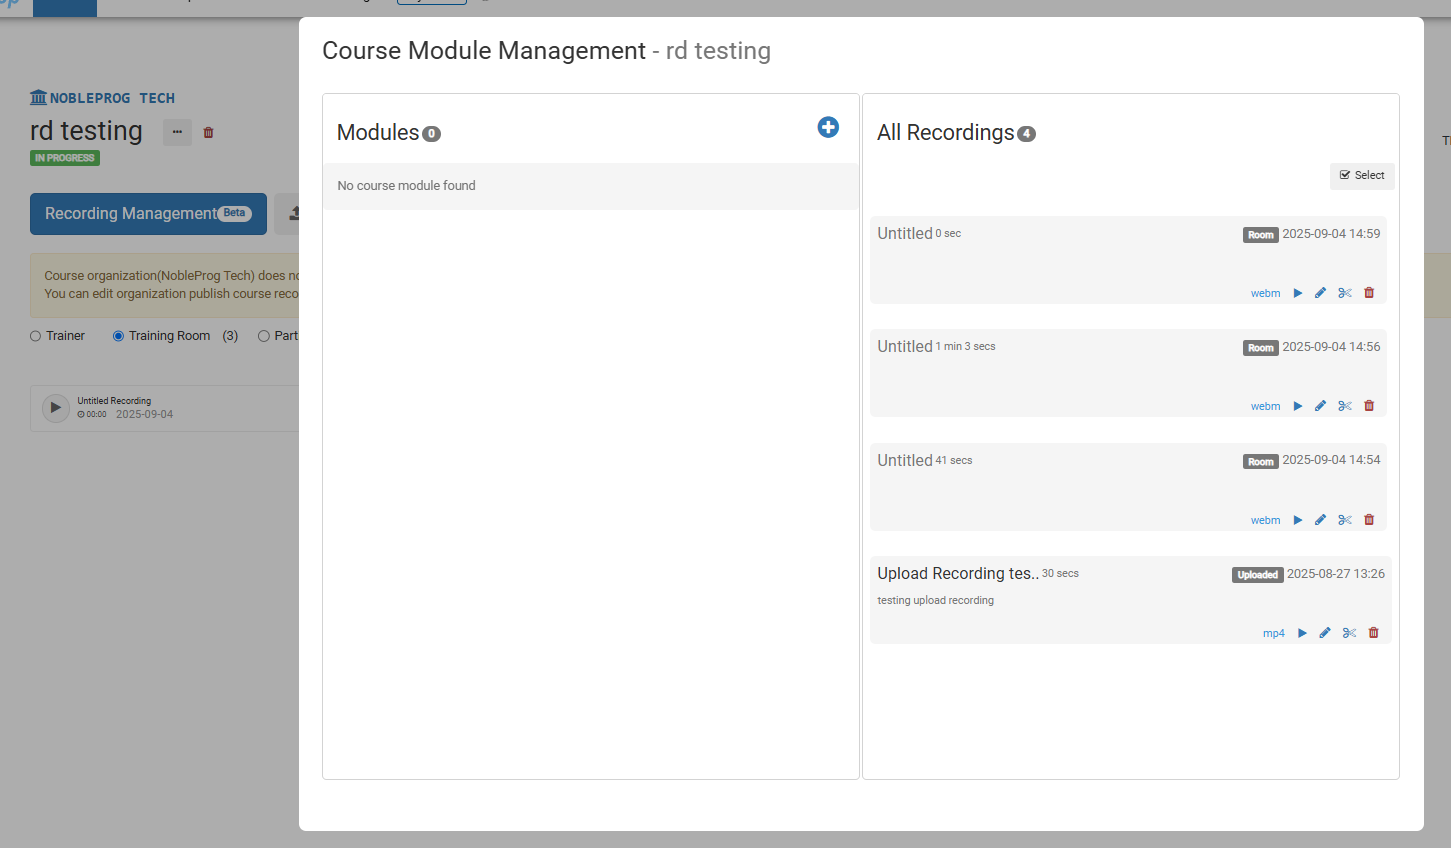
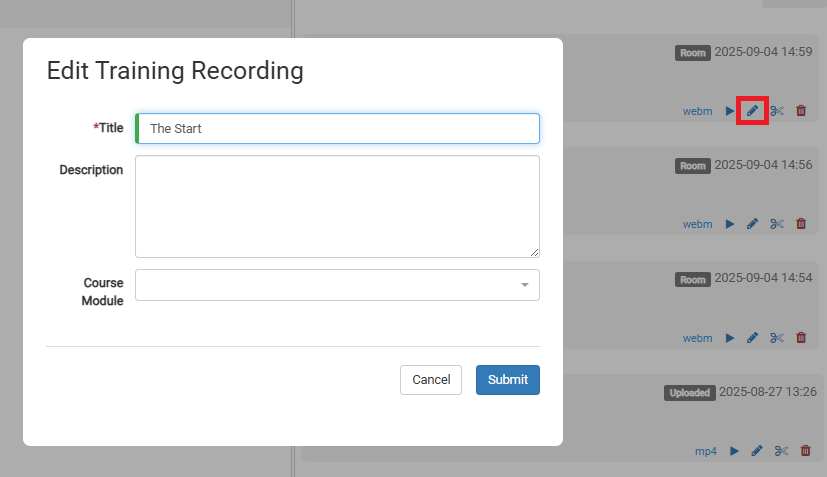
From here, you can edit a video by clicking the pencil icon on the video you want to edit.
To create Modules, click the (+) icon beneath the Modules box.
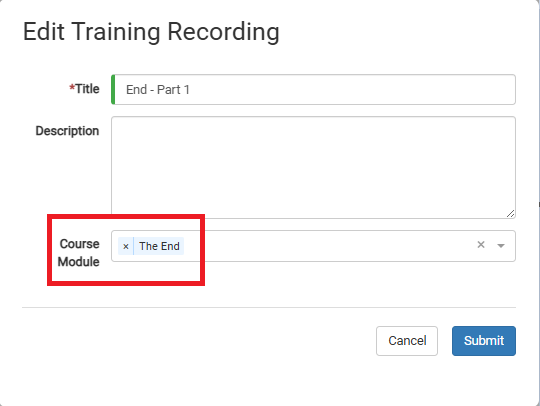
After creating your modules, you can start organizing videos into them. You can either drag and drop videos
or assign them manually while editing the video.
Video Editing
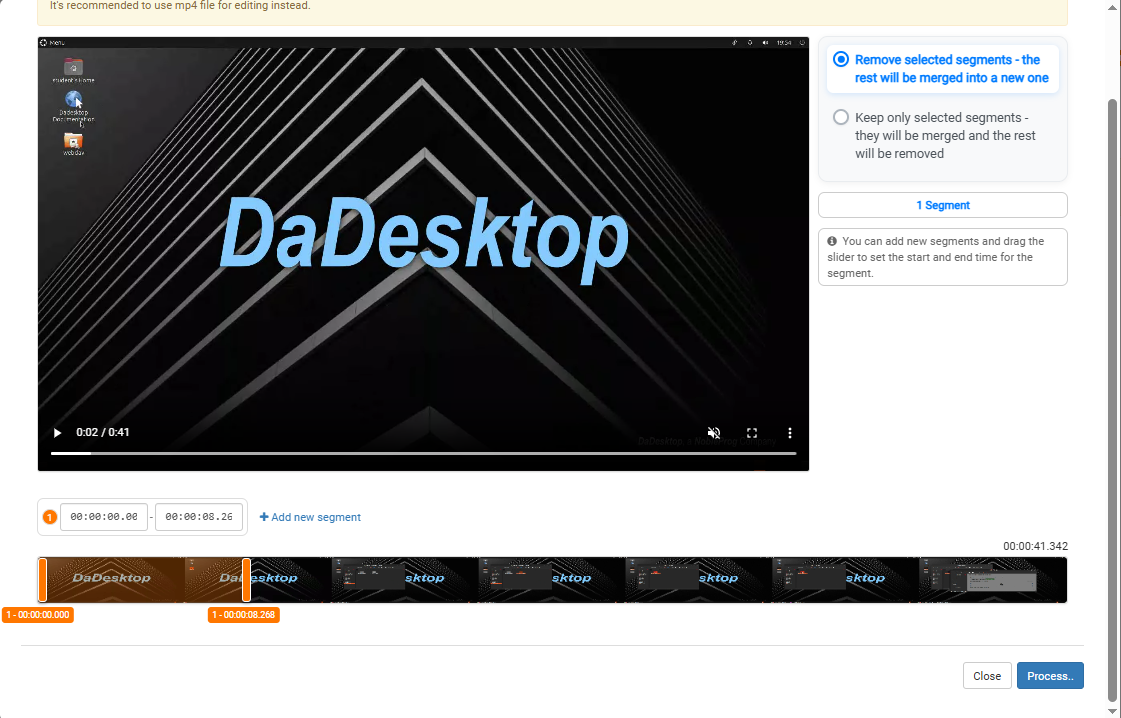
You have access to basic video editing tools. If your recording includes moments where you're idle or struggling to find a file, and you'd rather not include those in your final video, simply click the "scissor" icon on the video. This lets you trim and adjust your recording as needed.

That opens the Edit/Cut Recording window, where you can scrub through and cut your video. Once you're satisfied with the edits, process the video to apply your changes.